Jira Cloud
In Jira Cloud, you can authenticate either with your username and password or with your username and an API token. You must use an API token if the Atlassian account you authenticate with has two-step verification enabled.
To create an API-Token proceed as follows. Open your Jira instance and log in. Click on the avatar in the upper right corner, then click Account settings.
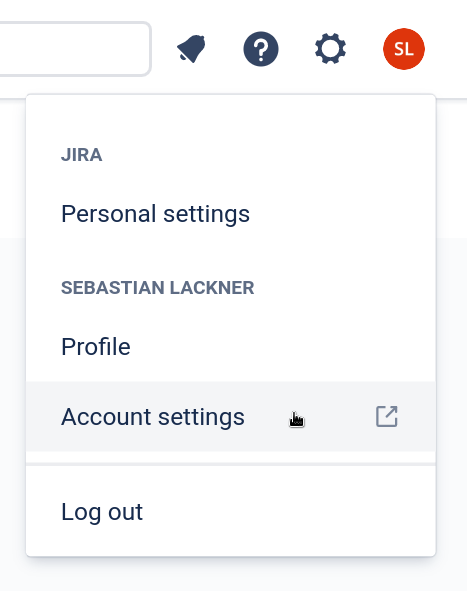
Jira dropdown menu after clicking on the avatar in the top right corner.
Click Security in the sidebar on the left and then Create and manage API tokens. On the new page, click Create API token at the top.

Jira dialog for creating an API token.
Enter a label (can be chosen freely) and click on Create. You will then see the newly created API token. Copy it, the token is needed to complete the configuration in MergeBoard.
Back in MergeBoard, fill out the form as follows.
- Name
The name will be displayed when referencing an issue of the respective issue tracker. Make sure to give it a distinctive name, as you can add multiple issue trackers of the same type.
- Type
Must be Jira.
- Authentication
Select Authenticate with Username and Password here, even when using an API token!
- Jira URL
Full URL of your Jira Cloud instance, e.g.,
https://mycompany.atlassian.net. The input of a trailing slash is not necessary.- Username
Should be the email address of your Jira account.
- Password
Either the password of your Jira account (if you don’t have two-factor login enabled), or an API token.
- Personal Access Token
Jira Cloud does not support Personal Access Tokens, but the similar sounding API tokens. If you want to login via an API token, choose Authenticate with Username and Password and use the API token as a password. Entering an API token as Personal Access Token won’t work.
- Project
Optionally enter a project key here. When a project key has been entered, only issues of the respective project can be accessed from MergeBoard. If you leave the field empty, issues from all projects that the Jira user has access to can be used in MergeBoard. You can view the project key in Jira by clicking on Projects in the navigation bar and then on View All Projects.
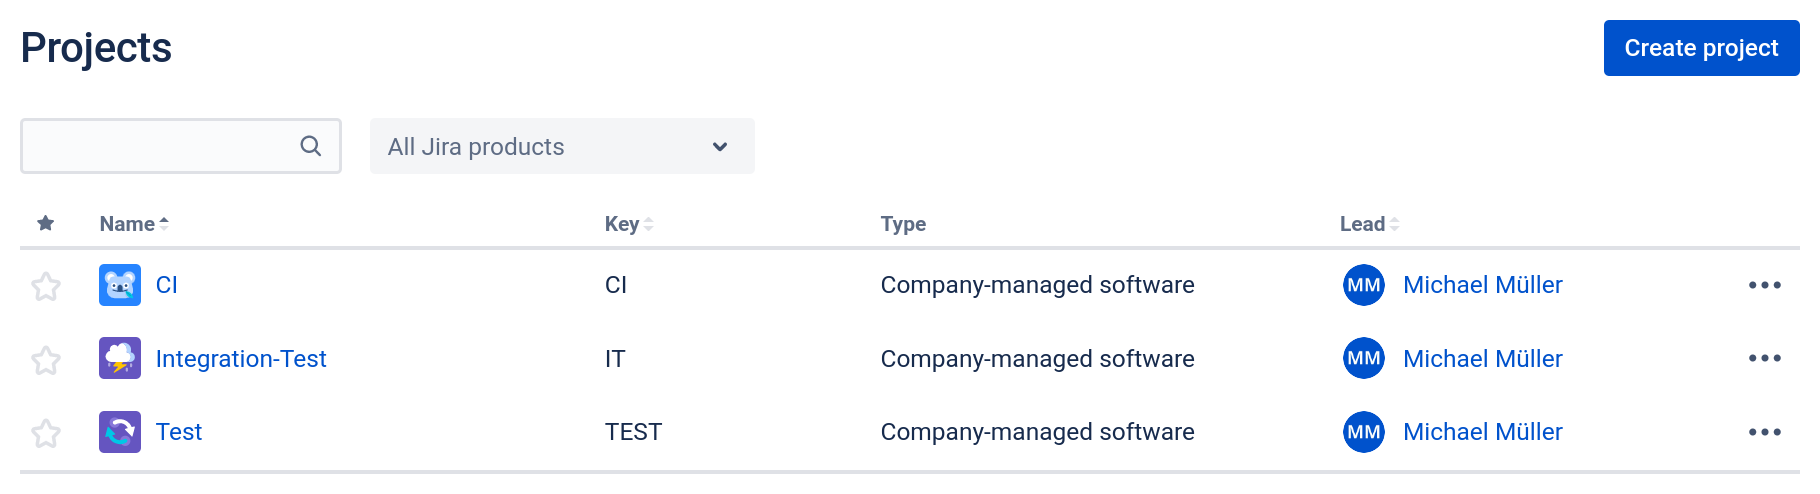
You can see the project keys in the list of all projects.
- Review Status
Name of the status to be assigned to Jira issues when they are referenced in a merge request. If you do not want to change the status automatically, just leave this field empty.
To determine the value to insert, go to the respective project in Jira, and then to Project settings in the sidebar on the left. Click on Workflows and select the workflow to edit (usually there is exactly one). Either copy the name of an existing status that you want to use for merge requests in review (e.g. “In Progress”) or add a new status by clicking on Edit and then on Add status.
In MergeBoard, the name of the status must be specified exactly as in Jira. Capitalization is ignored, so both “IN REVIEW” and “In Review” have the same effect.
Note that if MergeBoard was instructed to make a status transition that is not allowed in Jira, the status of the issue will be left untouched.

Jira workflow editor to customize statuses and transitions. MergeBoard can be configured to automatically update the issue status when a merge request is opened.
- Merged Status
Analogous to “Review Status”, this is the status to be assigned once the merge request in MergeBoard has been merged. If you do not want to change the status automatically, just leave the field empty.
When using the default Jira workflow, the status usually is “Done”.
- Merge Request Field
If desired, MergeBoard can store a link to the merge request in Jira. To use this feature, you must first create a custom field in Jira, which is then set via MergeBoard.
In MergeBoard you simply have to enter the name of the field (e.g. “Merge Request URL”). If you do not want to use this feature, you can leave the field empty.
- Comment
If this checkbox is set, MergeBoard automatically creates a comment that points to the merge request URL. If you also store the merge request URL in a custom field, you can usually disable this option (unless you want both for redundancy).
Once you are happy with the settings click on Save.