Bitbucket
The following instructions describe how to configure OAuth2 using Bitbucket.
Step 1: Register OAuth2 Provider in MergeBoard
To start the process of adding a new provider, click on the Add OAuth2 Provider button in MergeBoard.
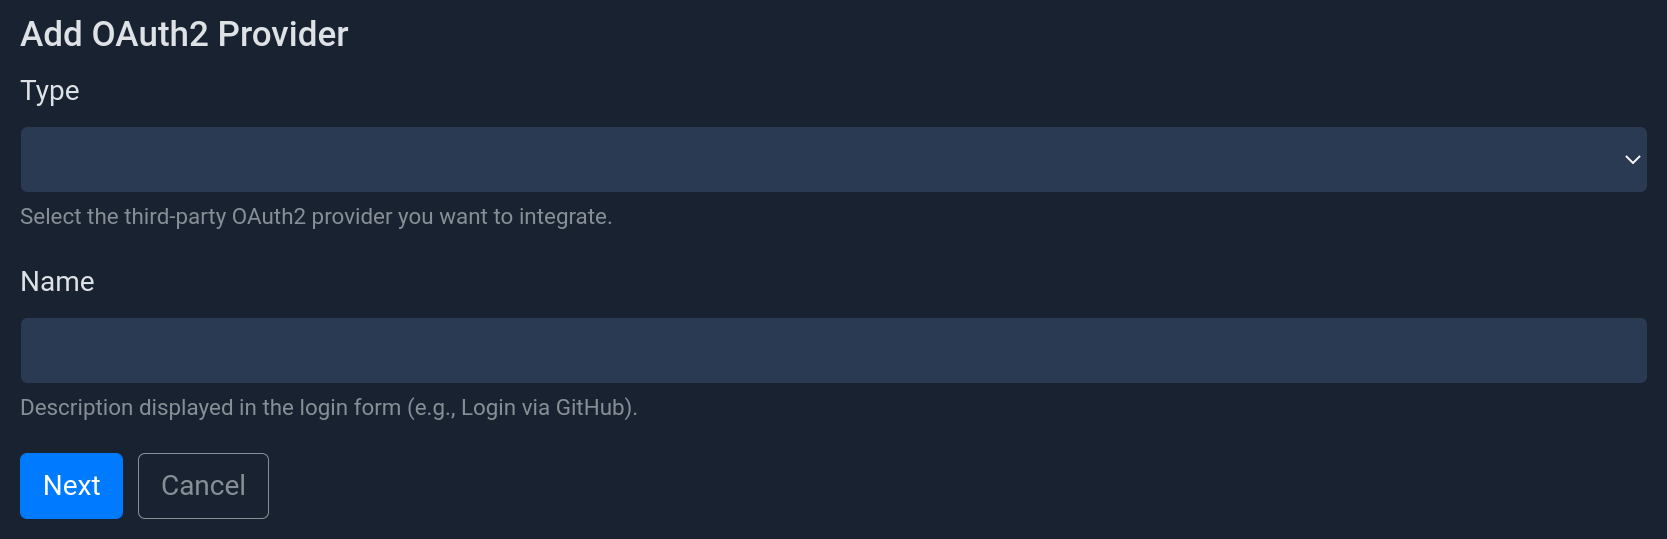
Form to add a new OAuth2 provider.
Select the provider type Bitbucket from the list and enter a provider name
(will be displayed to users in the login dialog). To proceed click on Next.
The following step differs depending on whether you are using the Bitbucket Cloud or a self-hosted Bitbucket instance.
Step 2: Add OAuth2 Provider in Bitbucket (Cloud)
Bitbucket provides Instructions in their documentation, however, at the time of writing these instructions appear to be outdated.
Open bitbucket.org and login into your user account. In the top-right corner, select your avatar and click on All workspaces.
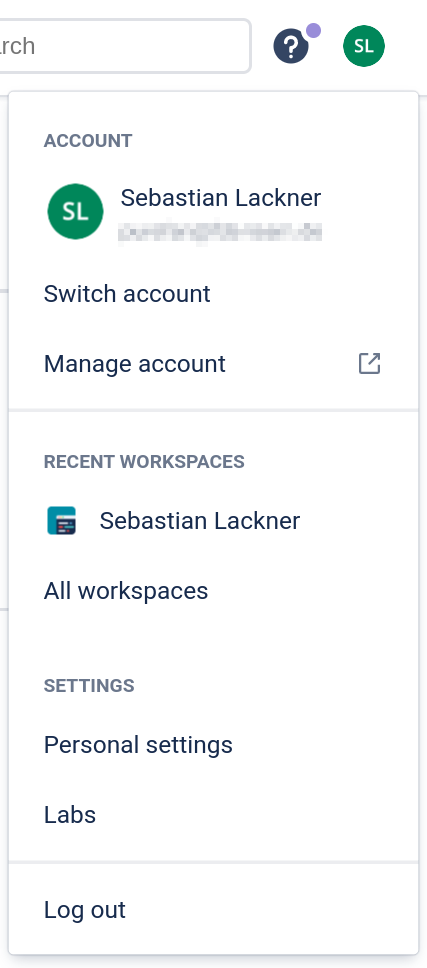
GitLab dropdown menu after clicking on avatar icon in the top-right corner.
Select your workspace, click on Settings in the sidebar and then on OAuth consumers. Click on Add consumer and you should see the input form as shown below.
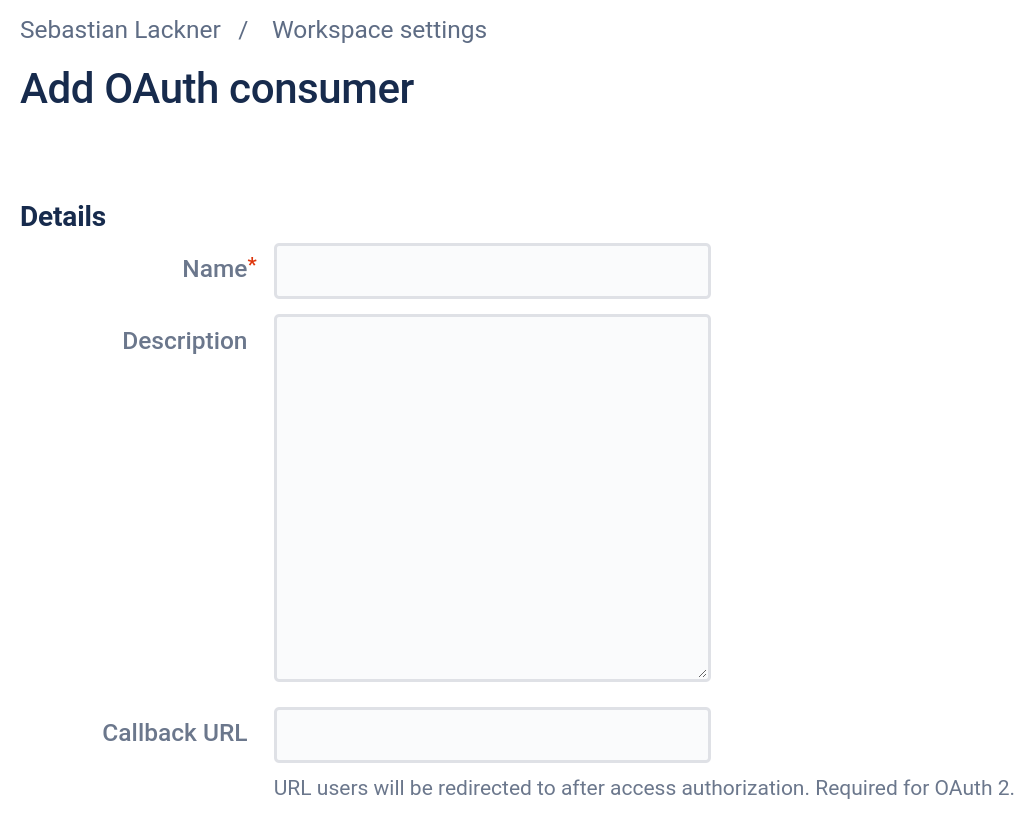
Form to register a new OAuth2 application in Bitbucket.
- Name
The name of the application can be chosen freely. It will be displayed to users when they log in.
- Description
Can be left blank.
- Callback URL
This must match the Redirect URL as shown in MergeBoard after completing the first form of the OAuth2 provider creation.
- URL
The URL can be chosen arbitrarily. We suggest to enter the URL to your MergeBoard workspace.
- Privacy policy URL
Can be left blank.
- End user license agreement URL
Can be left blank.
- This is a private consumer
You should check this box. MergeBoard does not reveal the Client ID or Secret to your users.
In the list of permissions, select the Account Email and Account Read permission and click on Save.

Bitbucket OAuth2 permissions as required by MergeBoard.
Click on the newly created OAuth consumer in the list to reveal the Key and Secret. MergeBoard needs to know these values, so write them down or save them in your password manager.
Step 2: Add OAuth2 Provider in Bitbucket (Server / Datacenter)
Open your bitbucket instance and login as admin. Now follow these steps:
Open Administration > Application Links
Click Create link
Select External application and choose Incoming.
Click Continue
Now fill out the fields as described below.
- Name
The name of the application can be chosen freely. It will be displayed to users when they log in.
- Redirect URL
This must match the Redirect URL as shown in MergeBoard after completing the first step.
- Application permissions
No special permissions are required. You can leave all checkboxes unchecked.
Click on Save and you should be forwarded to a page that displays the Client ID and Client secret required for the next step.
Step 3: Complete Configuration in MergeBoard
Back in MergeBoard, fill out the form as follows.
- Enable Provider
Enable the checkbox to allow users to login via this provider.
- Type
Select whether you want to import a project from the Bitbucket Cloud (
https://bitbucket.org) or from a self hosted Bitbucket server.- Allowed Workspaces (Bitbucket Cloud only)
If you use bitbucket.org for OAuth2 authentication, anyone with a bitbucket.org account can log into your MergeBoard workspace. They won’t have access to your projects, but you will still be billed for their user account. To block this, click on the plus symbol and enter the workspace IDs of the workspaces you want to restrict access to. You can lookup the workspace IDs in the Workspace settings, as shown below. If you are using a self-hosted Bitbucket instance that only your employees have access to, you usually don’t need to restrict access further.
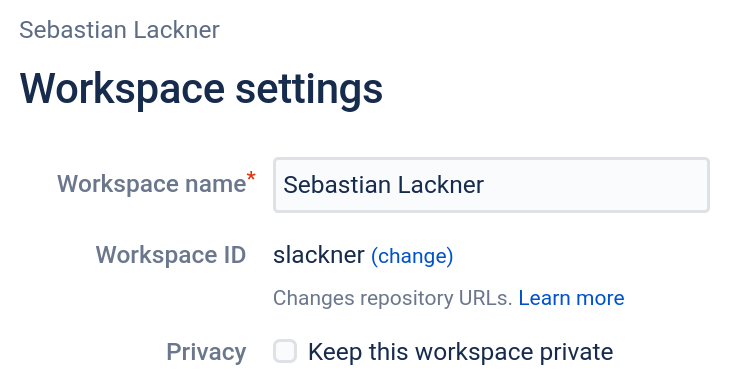
The Workspace ID can be retrieved from the Workspace settings.
- Bitbucket Server URL (Self hosted Bitbucket only)
If you are hosting Bitbucket yourself, you need to enter the URL where your Bitbucket server can be reached (e.g.,
https://bitbucket.company.com).- Client ID
Enter the Key as shown by Bitbucket.
- Client Secret
Enter the Secret as shown by Bitbucket.
Once you are happy with the settings click on Save.