GitLab
The following instructions describe how to configure OAuth2 using GitLab.
Step 1: Register OAuth2 Provider in MergeBoard
To start the process of adding a new provider, click on the Add OAuth2 Provider button in MergeBoard.
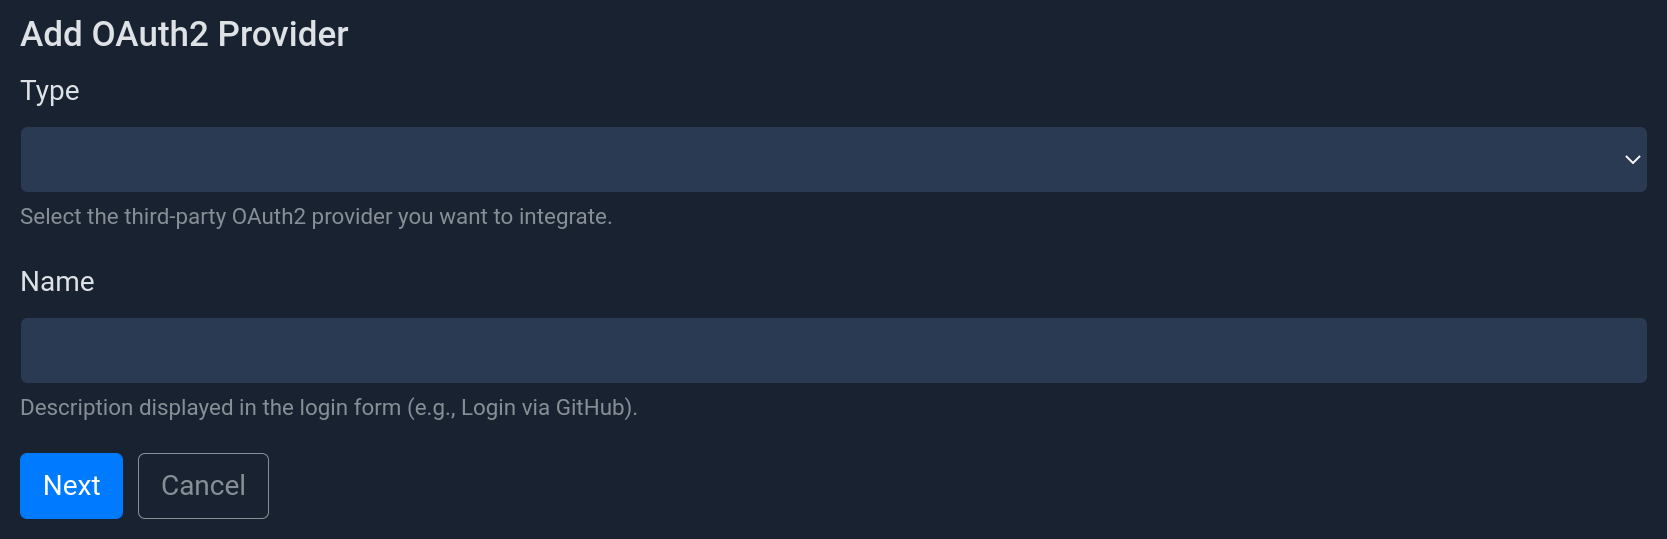
Form to add a new OAuth2 provider.
Select the provider type GitLab from the list and enter a provider name
(will be displayed to users in the login dialog). To proceed click on Next.
Step 2: Register OAuth2 Provider in GitLab
GitLab supports several ways of adding a new OAuth2 application to an instance, depending on who should be the owner.
Note that if you choose a user or group application, it will become invalid if you later on decide to delete the corresponding user account or group. In the following we will explain the steps for User owned applications. Please refer to the GitLab documentation for details on how to use Group owned applications and Instance-wide applications.
Open your GitLab instance. In the top-right corner, select your avatar and click on Edit profile.
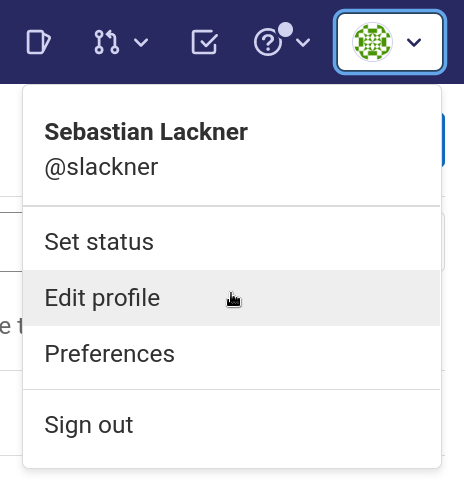
GitLab dropdown menu after clicking on the avatar icon in the top-right corner.
On the left sidebar, select Applications. You should see an input form as shown below:
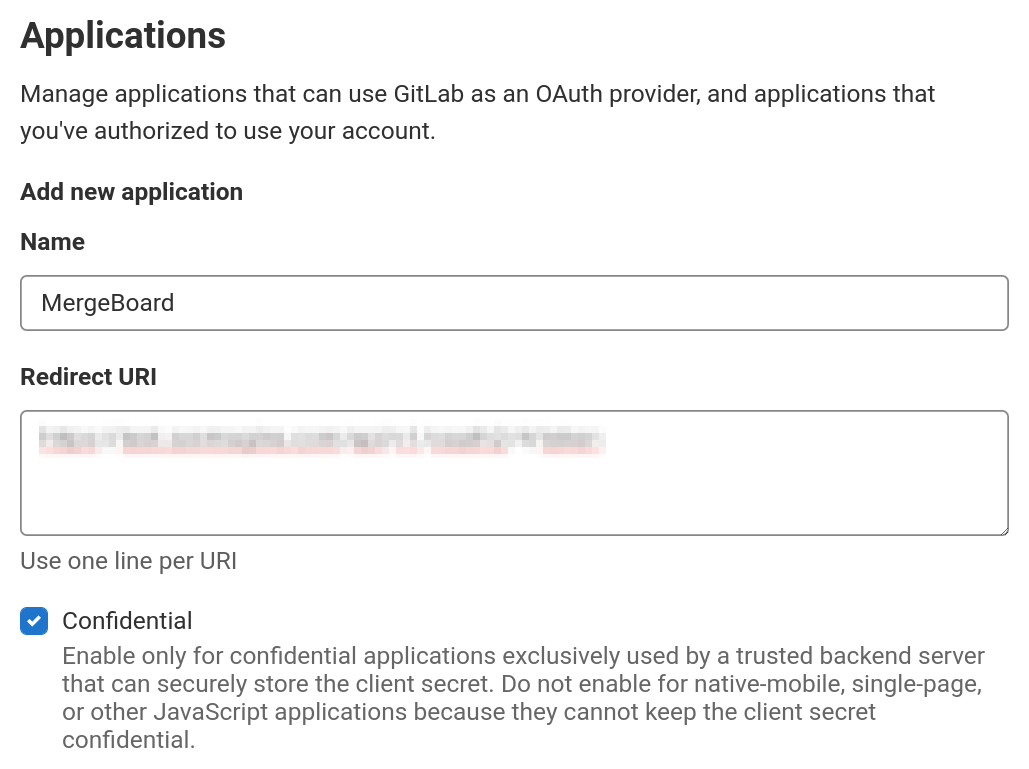
Form to register a new (OAuth2) application in GitLab.
- Name
The name of the application can be chosen freely. It will be displayed to users when they log in.
- Redirect URI
This must match the Redirect URL as shown in MergeBoard after completing the first form of the OAuth2 provider creation.
- Confidential
Since MergeBoard will never reveal the Client ID or Secret to users, you can keep this box checked.
In the list of scopes, select the openid, profile and email scope and click on Save application.
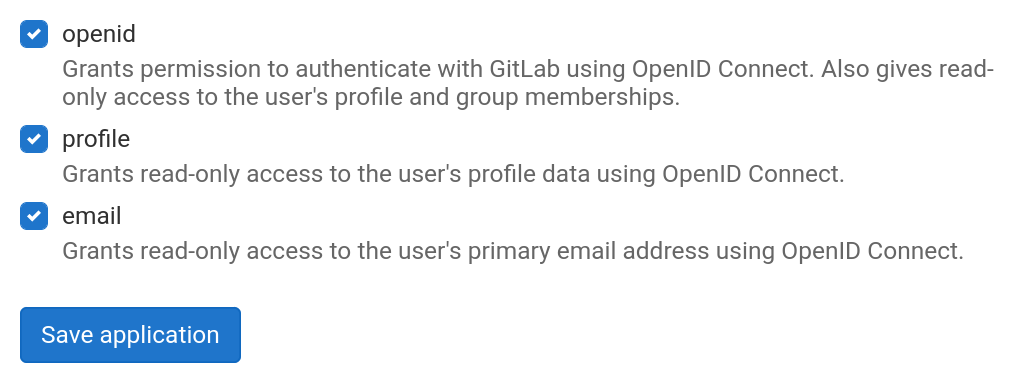
GitLab OAuth2 scopes as required by MergeBoard.
If everything worked, you will see both the Application ID and Secret. MergeBoard needs to know these values, so write them down or save them in your password manager.
Step 3: Complete Configuration in MergeBoard
Back in MergeBoard, fill out the form as follows.
- Enable Provider
Enable the checkbox to allow users to login via this provider.
- Client ID
Enter the Application ID as shown by GitLab.
- Client Secret
Enter the Secret as shown by GitLab.
- GitLab Server URL
When you are hosting GitLab yourself, enter the server address of your GitLab server (e.g.,
https://gitlab.company.com). When using the gitlab.com instance just keep the default valuehttps://gitlab.com.- Allowed GitLab Groups
If you use gitlab.com for OAuth2 authentication, anyone with a gitlab.com account can log into your MergeBoard workspace. They won’t have access to your projects, but you will still be billed for their user account. To block this, click on the plus symbol and enter the names of the gitlab groups you want to restrict access to. Note that you have to enter the group name exactly as in their group URL. To allow access to the group Core Team at
https://gitlab.company.com/core-teamyou would have to entercore-team. If you are using a self-hosted GitLab instance that only your employees have access to, you usually don’t need to restrict access further.
Once you are happy with the settings click on Save.